A worksheet border does more than frame a page. It sets the mood. When you use hand-drawn calligraphy for classroom sheet borders, you add a personal, warm touch that standard clipart just can't match. It tells students someone put thought into the material. Whether it's a title for a history project or a frame for a spelling test, these decorative borders make the sheet feel special without being distracting.
What exactly are hand-drawn calligraphy borders for classroom sheets?
They are decorative frames made using calligraphy lettering styles. Instead of using straight lines or basic shapes, the border is created with varying line weights, flowing strokes, and lettering flourishes. Sometimes the border is made of repeated words or phrases. Other times, it is a simple elegant line with swashes at the corners.
These borders work well because they look human. A slightly imperfect swirl or a varying line width feels inviting, not cold. Related elements like vintage typewriter decorative elements can pair with calligraphy borders to create a cohesive, nostalgic theme for older students.
When would you use a hand-drawn border instead of a digital one?
You use a hand-drawn border when you want the sheet to feel less factory-made. Digital borders are consistent, but they can feel impersonal. Hand-drawn calligraphy borders add a layer of care.
Here are a few common situations where they work best:
- Project title pages: A hand-lettered border makes the subject feel more inviting and custom.
- Reward certificates: The handmade look adds value to the recognition. It feels like a real gift.
- Art class prompts: It shows students the range of mark-making available to them.
- Seasonal worksheets: A quick hand-drawn leaf or snowflake border adds topical fun without being distracting.
For more structured learning sheets, you might prefer monoline chalkboard decorative accents. These are cleaner than full calligraphy but still keep that hand-crafted feel.
What are the different styles of calligraphy borders?
Not all calligraphy borders look the same. The style you choose changes the feeling of the page. Knowing the difference helps you pick the right one for the right worksheet.
- Monoline: A single, consistent stroke width. Very clean and readable. Great for younger students or worksheets with lots of text.
- Brush Script: Thick downstrokes and thin upstrokes. This style looks more artistic and fluid. It works well for subject titles.
- Flourished: Lots of loops, swashes, and swirls. Best for special awards or the top of a creative writing story sheet.
- Whimsical or Playful: Uneven letter sizes and bouncy baselines. This style is energetic and fun.
If you are making a student activity sheet, using a playful shadow decorative element for the title can complement a bouncy, whimsical border nicely.
How do you make a classroom sheet border look balanced?
This is where many people make mistakes. A heavy, dark border can crowd the page. A light, uneven border can look messy.
Common mistakes to avoid:
- Making the border too dark, which overpowers the main worksheet text.
- Using too many different lettering styles on one page.
- Not leaving enough white space inside the border. The border should frame the content, not squeeze it.
- Forgetting to plan the corners. Corners connect the whole frame. Weak corners make the whole border look unstable.
Useful tip: Use a lighter colored pen or marker for the border than you use for the main text. Gray, light blue, or sepia tones work well. They provide a frame without screaming for attention.
What tools do you need to start making these borders?
You don't need expensive supplies to get started. The tool changes the look of the calligraphy, so it is good to know your options.
- Fine liners: These give a consistent monoline look. Very easy to control.
- Brush pens: These create the classic thick-and-thin calligraphy look. Requires a bit of practice with pressure.
- Chalk markers: Great for blackboard-style sheets. They give a matte, textured look.
- Digital tools: If you prefer working on a tablet, apps like Procreate have brushes that mimic real ink and paper.
Where can you find inspiration or pre-made resources?
You can draw borders yourself, but you can also get the look without drawing from scratch every time. Many teachers collect reference pieces. Look at vintage schoolbooks or old letters. Notice how they handled the corners and edges of the page.
For a classic digital reference, look at fonts like Playfair Display. It captures the elegant stroke contrast of traditional calligraphy. Using it in a title paired with a simple hand-drawn border creates a professional look fast.
Your next step
Before your next worksheet, sketch four simple corner swashes on a piece of scratch paper. Just the corners. Try a monoline version and a brush script version. This small habit will train your eye for balance. It makes your hand-drawn borders feel intentional, not accidental. Once you are comfortable with the corners, the rest of the frame builds itself.
Download Now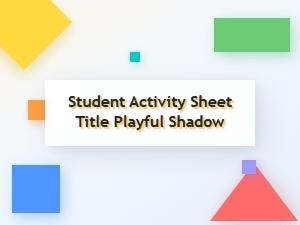 Playful Shadow Script Font Designs
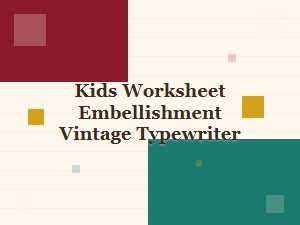 Vintage Typewriter Fonts for Kids Worksheet Embellishment
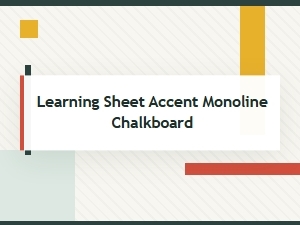 Learning with Monoline Chalkboard Accent Fonts
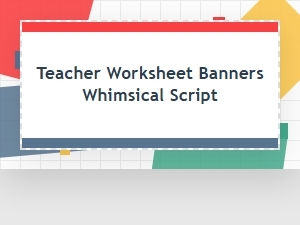 Whimsical Teacher Worksheet Banner Scripts
 Bubbled Decorative Fonts for Worksheet Headings
 Educational Fonts for Teacher-Made Materials